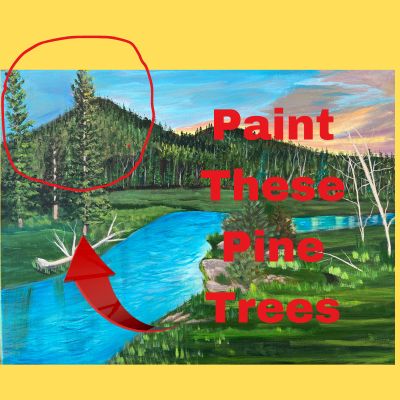
Quick Tips for Pine Trees
I love painting pine trees so here are some quick tips for pine trees that will improve your art. For me, painting pine trees can be one of the most satisfying parts of a landscape, but it’s also where a lot of beginners struggle. Maybe your trees are looking flat, or maybe they’ve turned into a big green blob—don’t worry, you’re not alone! With these quick tips, you’ll be painting beautiful, natural-looking pine trees in no time.
1. Build in Three Layers for Depth
One of the biggest mistakes beginners make is painting pine trees in one solid color. But real trees have depth! To create a more natural look, work in a minimum of three layers:
- Dark Base Layer – This is your shadow color, the deepest green you see in a tree. It sets the foundation and creates contrast. I usually add either dioxazine purple or ultramarine blue to the green I’m using for the pine tree.
- Mid-Tone Layer – This is your main tree color. It goes over the dark base but doesn’t cover it completely. You’ll be creating depth as you add this layer.
- Highlight Layer – This is where the magic happens! Using a lighter green or even hints of yellow, add highlights where the light hits the tree.
By layering in this way, you’ll create a tree that looks three-dimensional instead of flat. Each pass should use less paint and lighter pressure.
Make sure you never miss a single beginner painting lesson by signing up for my weekly one-page newsletter HERE.
2. Use Light Pressure for Soft, Natural Branches
A common issue beginners face is pressing too hard with the brush, which creates stiff or clumpy branches. Instead, use light pressure and let the brush do the work!
- I use a natural bristle brush but you could use a fan brush to tap in your branches.
- Hold the brush lightly and use the very tip to create delicate, feathery edges.
- Avoid overloading your brush with paint—too much, and your tree will lose its texture.
- Each pass should use lighter pressure and less paint.
Light, gentle strokes will give your trees a soft and airy feel, just like the real thing!
3. Remember Where the Light Is Coming From
This is a small detail that makes a huge difference! Before you start adding highlights, decide where your light source is. I usually put an arrow on my canvas in soft vine charcoal so I don’t forget where the light is coming from. It wipes off easily but it helps me remember where the light is coming from.
- Is the sun coming from the left? Then the right side of your tree should be darker.
- If the light is above, the tops of the branches will catch more highlights.
Bonus Tip: Variety Is the spice of life!
Nature is full of randomness—no two trees are exactly the same. Vary the shape, size, and spacing of your trees so your painting feels and looks organic. You can even mix in some bare branches or different shades of green to make your forest feel alive.
Time to Paint!
Now that you have these quick tips for pine trees, it’s time to grab your brush and start painting! Remember to build in layers, use light pressure, and keep your light source in mind. With a little practice, your pine trees will go from beginner blobs to beautifully layered, realistic trees.
Happy painting!
Art Isn’t The Result – It’s The Journey blog post on creating art. Getting your mindset right is a critical part of creating art, in any form.
Thanks for stopping by today,
Sharon