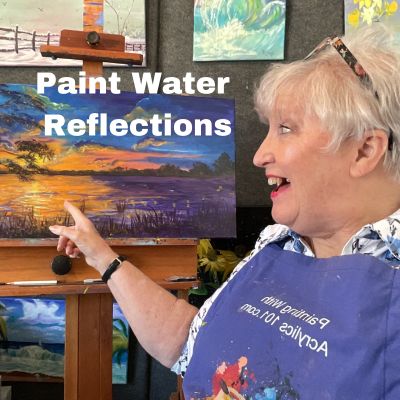
3 Tips for Understanding Water Reflections in Acrylic Paint
Painting water reflections can feel like a challenge, but once you understand a few key principles, you’ll see that it’s easier than you think! Reflections add realism and depth to your landscape paintings, making water look more natural and believable. In this post, we’ll cover three essential tips to help you master water reflections in acrylic paint. And be sure to check out my video, “3 Tips for Understanding Water Reflections,” for a visual demonstration!
1. What’s Above the Water Must Be Reflected
A reflection is simply a mirror image of what’s above the water. Whether it’s a mountain, a tree, or a bright blue sky, whatever exists above the waterline will appear in the water below. When sketching out your scene, make sure to include these elements in your reflections. You don’t need to paint them with as much detail as the original objects, but their shapes and placement should be consistent with what’s above.
2. Light Objects Have Darker Reflections
One of the most important things to remember about reflections is that they don’t always appear exactly the same as the objects above them. If an object is bright—like a white bird, a white cloud, or a snow-covered mountain—its reflection in the water will appear slightly darker. This happens because water absorbs and scatters light, reducing the brightness of the reflection. (I had to look up the science of it). To achieve this effect, use slightly deeper or muted colors for the reflection compared to the actual object.
3. Dark Objects Have Lighter Reflections
On the flip side, dark objects tend to have reflections that are slightly lighter. A shadowy tree line, a deep rock face, or a dark-colored building will appear a bit brighter in its reflection. This is because water picks up ambient light and adds a soft glow to darker tones. To capture this in your painting, mix a little of the surrounding sky color into your reflected shadows to lighten them just a bit.
Bonus Tip: Use Soft Brush Strokes
Reflections are often slightly blurred due to the movement of the water. Use light pressure with your brush and blend your colors to create a soft, rippling effect. Horizontal strokes can help mimic the way water naturally distorts reflections. If the water is still the strokes depicting water will be less pronounced and if the water is moving faster the movement strokes will be much more defined and maybe even closer together.
By keeping these three tips in mind—reflecting what’s above, darkening light reflections, and lightening dark reflections—you’ll be well on your way to painting realistic water scenes. Want to see these techniques in action? Watch my video, “3 Tips for Understanding Water Reflections,” to follow along and improve your acrylic painting skills!
I have a one page weekly newsletter “Let’s Talk Art”. It features art instruction, museums or galleries to view art and artists I think you will find interesting. If that speaks to you, please sign up HERE!
I also have a FREE painting class on my website where you’ll learn to paint an impressionistic background, stems, leaves, curlyques and daisies. Click the button below to get the online class.